
Self-Hosting: Umami Analytics
Web analytics are essential for understanding your audience and improving your site’s performance. But traditional tools like Google Analytics often come at a cost; reduced user privacy and bloated scripts.
Umami is a lightweight, open-source, and GDPR-compliant alternative to Google Analytics. They do not collect any personally identifiable information (PII) and anonymizes all data collected.
It offers features like real-time tracking, session-based analytics, drill-down reporting, all wrapped in a sleek, modern UI. And best best of all? You can self-host it.
If you’re ready to say goodbye to cookie consent banners, then keep reading!
Prerequisites
- Your own server
- A publicly-accessible domain
Hosting Umami
TIP
You can host Umami using Docker or for ease-of-use: Coolify.
Initial Login & Updating Admin Credentials
Once deployed, the default login credentials are:
- Username:
admin - Password:
umami
CAUTION
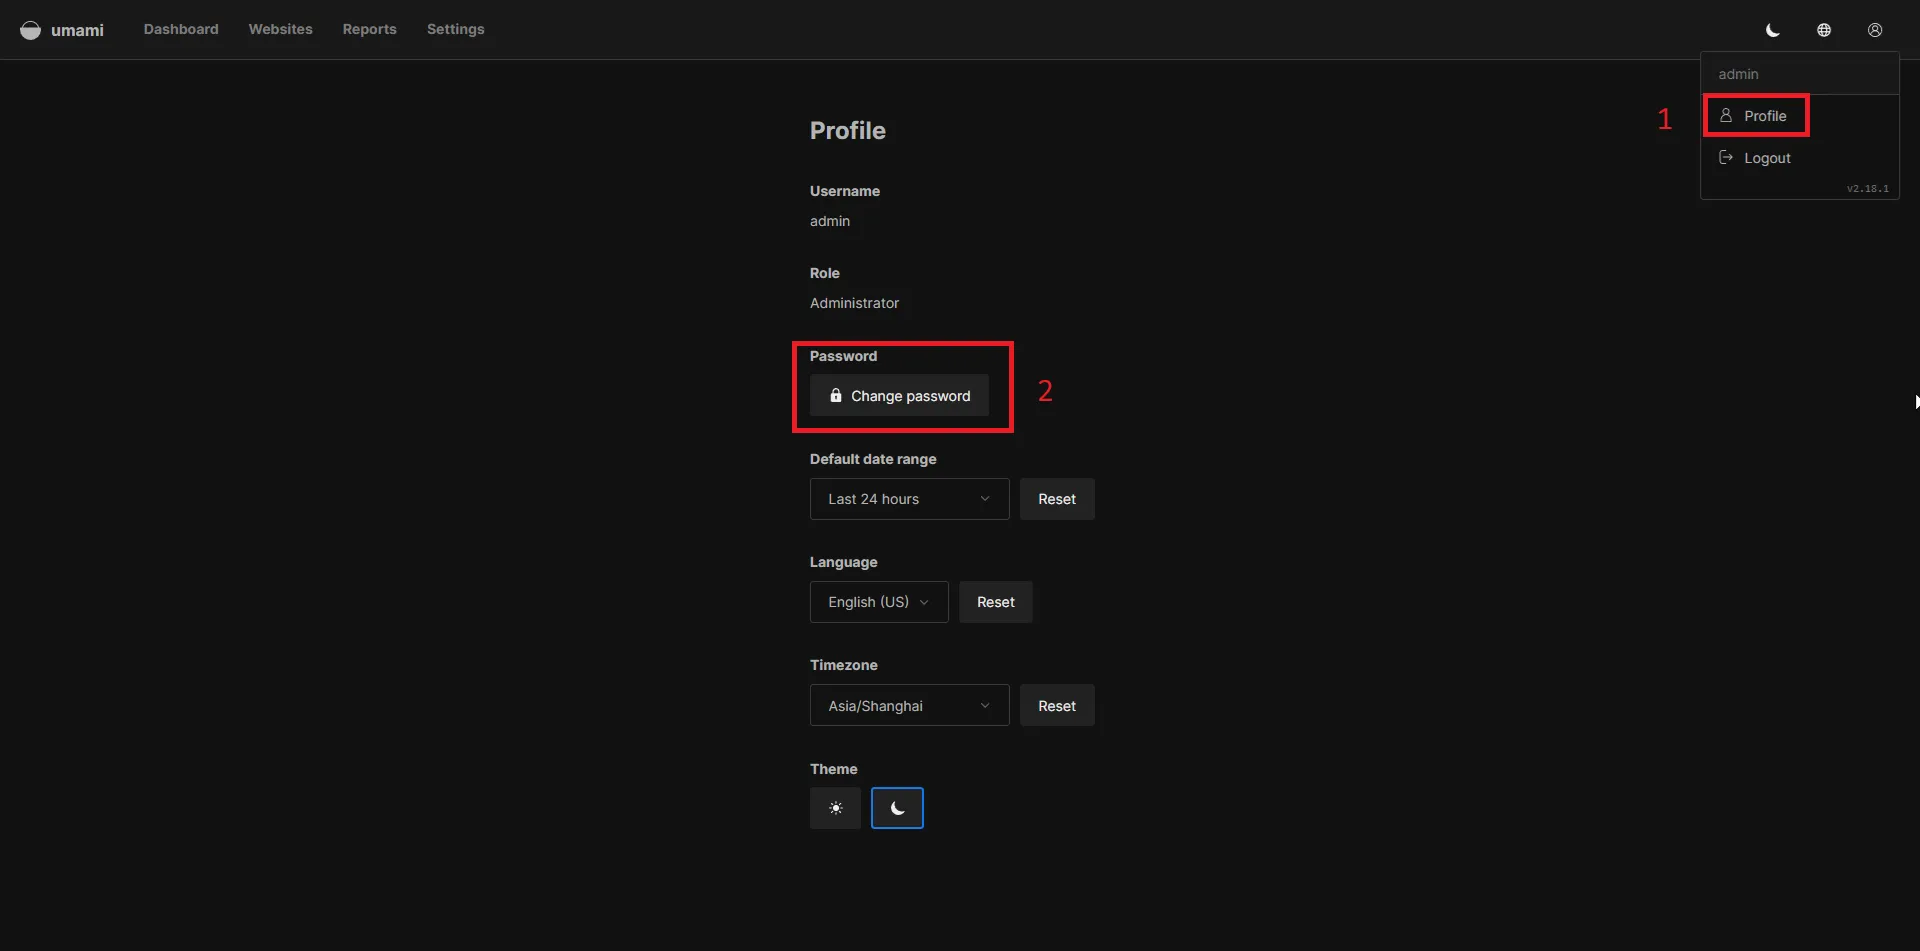
Make sure to change this password immediately.
You can do this from within the Umami dashboard by going to: Profile > Password > Change password.
Adding Your Website to Umami
After logging into Umami:
- Go to the Settings tab in the navigation bar.
- Click the + Add Website button.
- Fill in your site’s name and domain (e.g.,
example.com) and click Save.

Afterwards, you should now see your website listed in the dashboard.
Installing the Tracking Script
To start tracking visits:
- Click Edit beside your website in the list.
- Go to the Tracking Code tab.
- Copy the
<script>tag provided by Umami. - Paste the script within your site’s
<head>tag.
![]()
Optimizing Script Load via Partytown
Since I’m using Astro, I can use Partytown to load the analytics script via a web worker. This improves performance by offloading third-party scripts from the main thread.
TIP
Partytown isn’t exclusive to Astro, try to check your framework if they have an integration or plugin for Partytown.
Here’s what it looks like:
<head> <title>My Astro Site</title> <!-- Other meta tags --> <script is:inline type="text/partytown" src="https://yuno.ojou.de/script.js" data-website-id="94b2dd50-6600-4743-a6a4-a77274ca7aba" ></script></head>Gotcha: Umami Must Be Publicly-Accessible
CAUTION
The domain you’re hosting Umami must be publicly-accessible, so make sure regular users can send HTTP requests to your Umami endpoints. This is required for tracking because the Umami server needs to accept POST requests from your users.
If you want to debug whether clients can properly connect to your Umami instance, you can make a GET request via cURL to the Heartbeat API Endpoint at /api/heartbeat.
admin@windows MINGW64 ~$ curl https://yuno.ojou.de/api/heartbeat{"ok":true} # this means it's successfulChecking If It Works
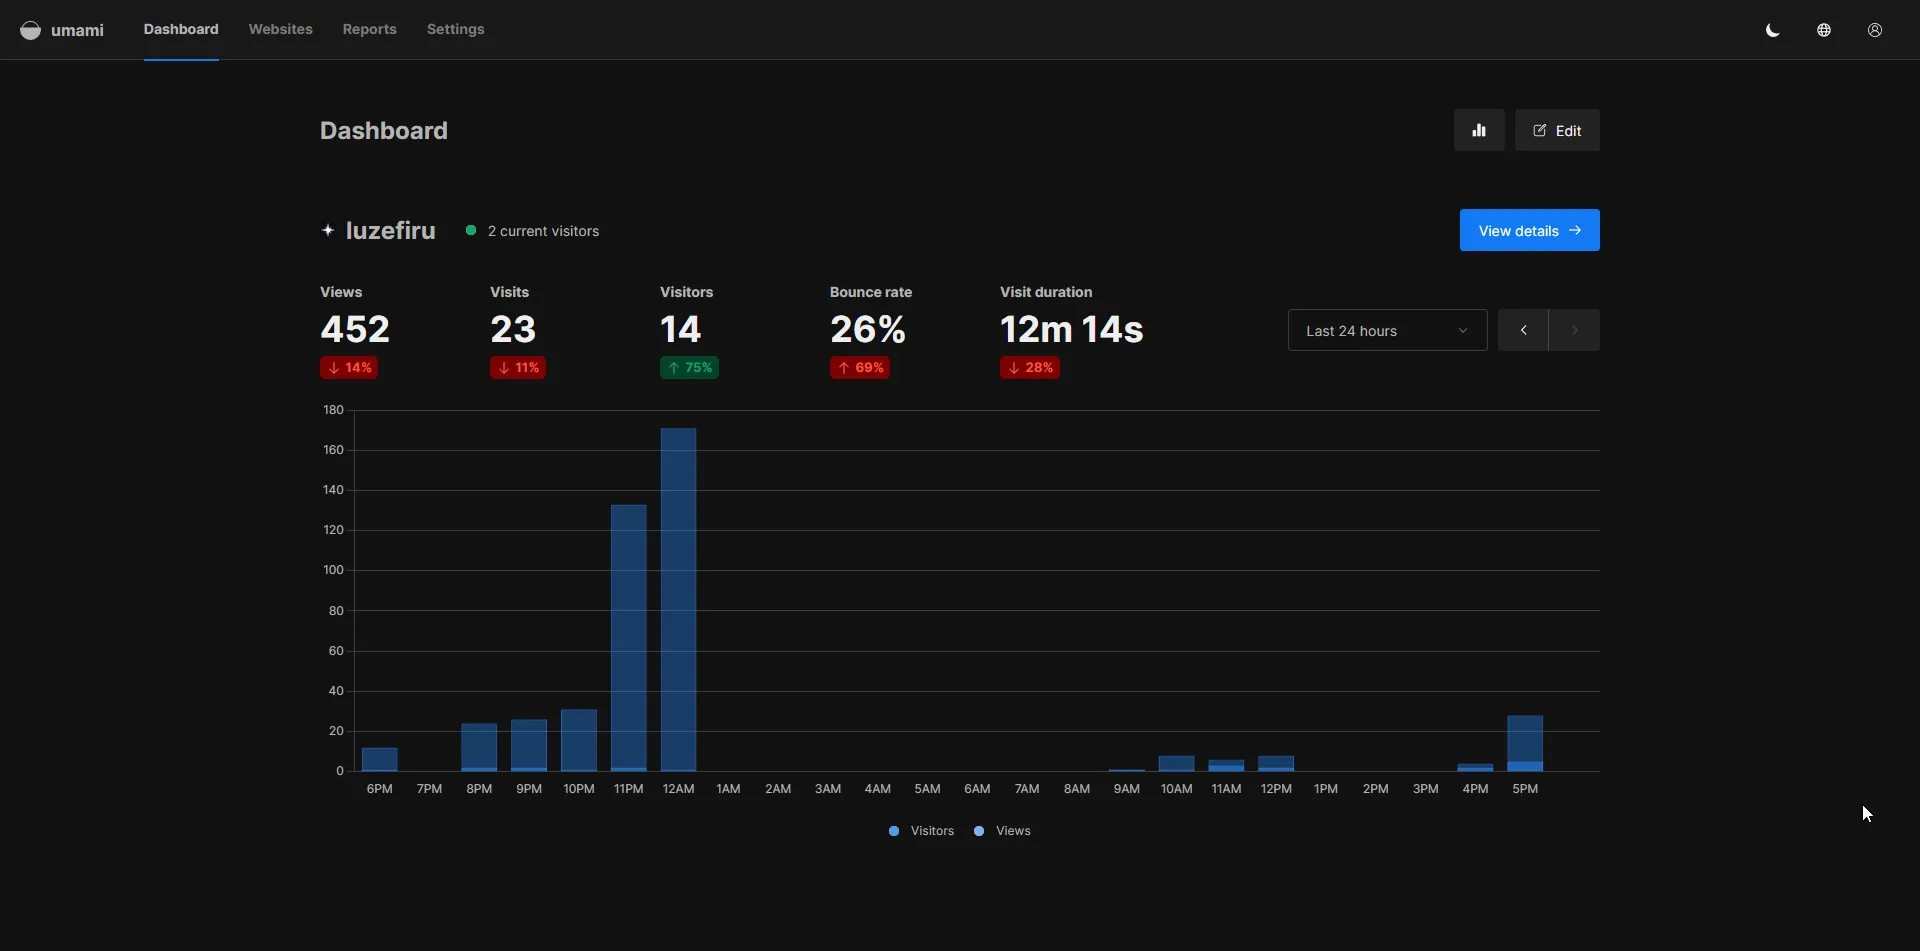
- Visit your website with the tracking script installed.
- Go back to the Umami dashboard.
- On the
Websitespage, clickViewbeside your site. - You should now see real-time analytics for page views, visitors, and sessions.
TIP
You can visit /websites/<your-website-id>/realtime in the Umami UI to view real-time tracking data.
Conclusion
Setting up Umami gives you a powerful, privacy-first analytics solution without relying on third-party SaaS tools. Whether you use Coolify, Docker Compose, or a manual setup, integrating Umami into your modern frontend stack is pretty straightforward and very rewarding.